Holiday Diorama In A Nutshell

Added on by the ikebana shop.

The holiday season is coming and we have dreamed up of a new hand-crafted ornament for you!

Take a guess! The first hint is walnuts…LOTS of walnuts!

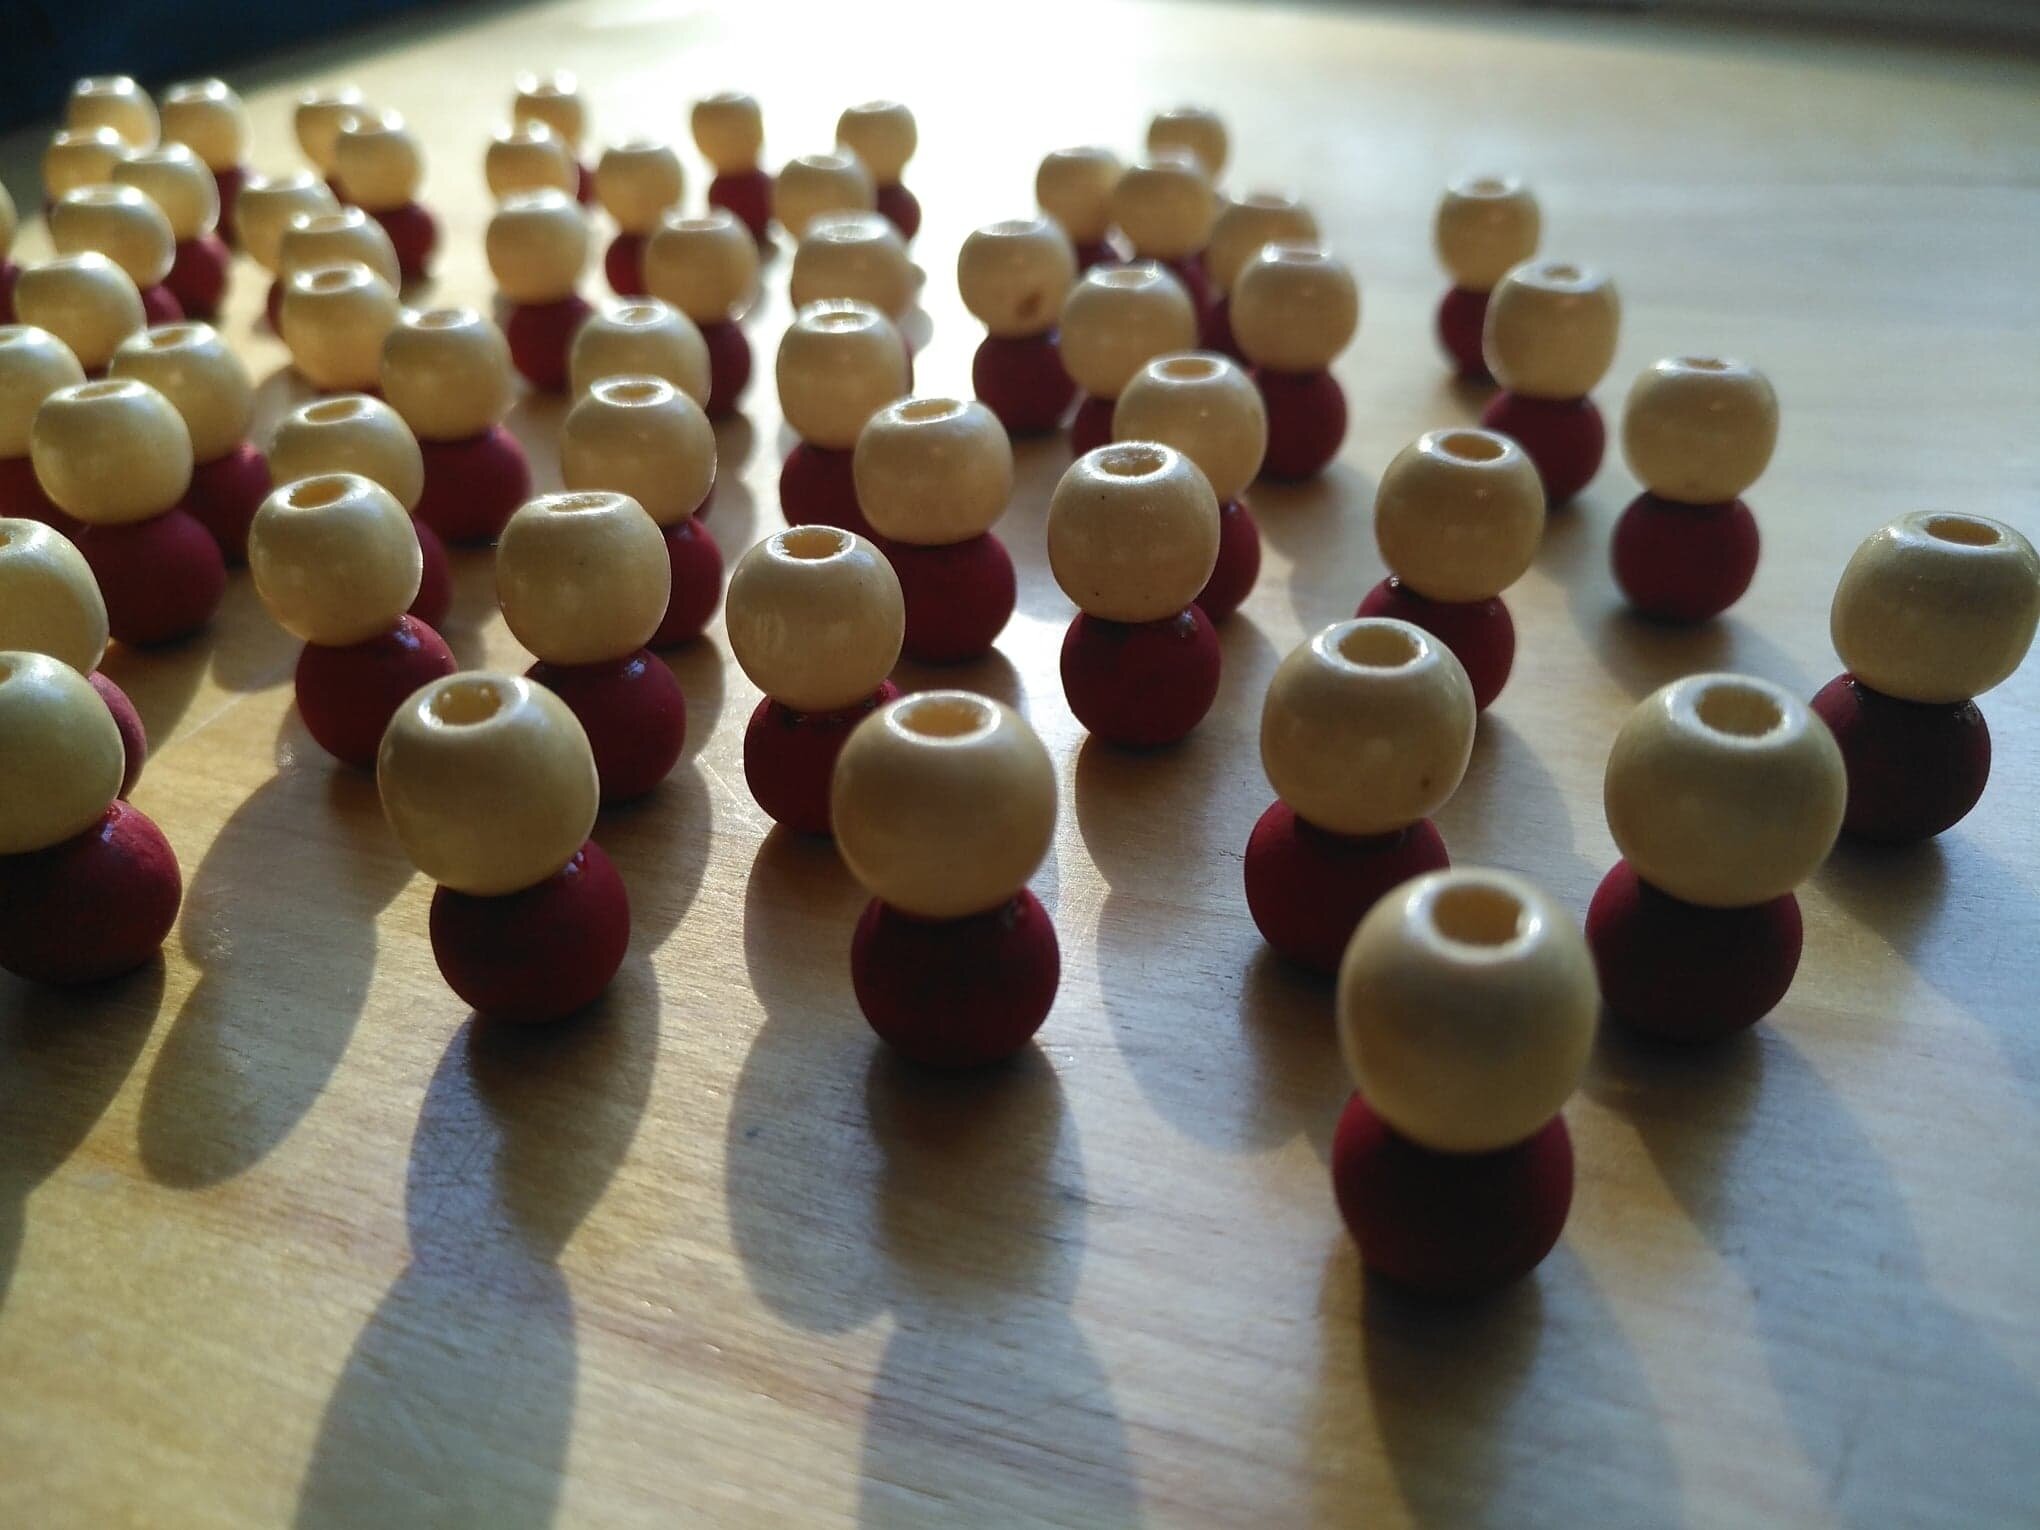
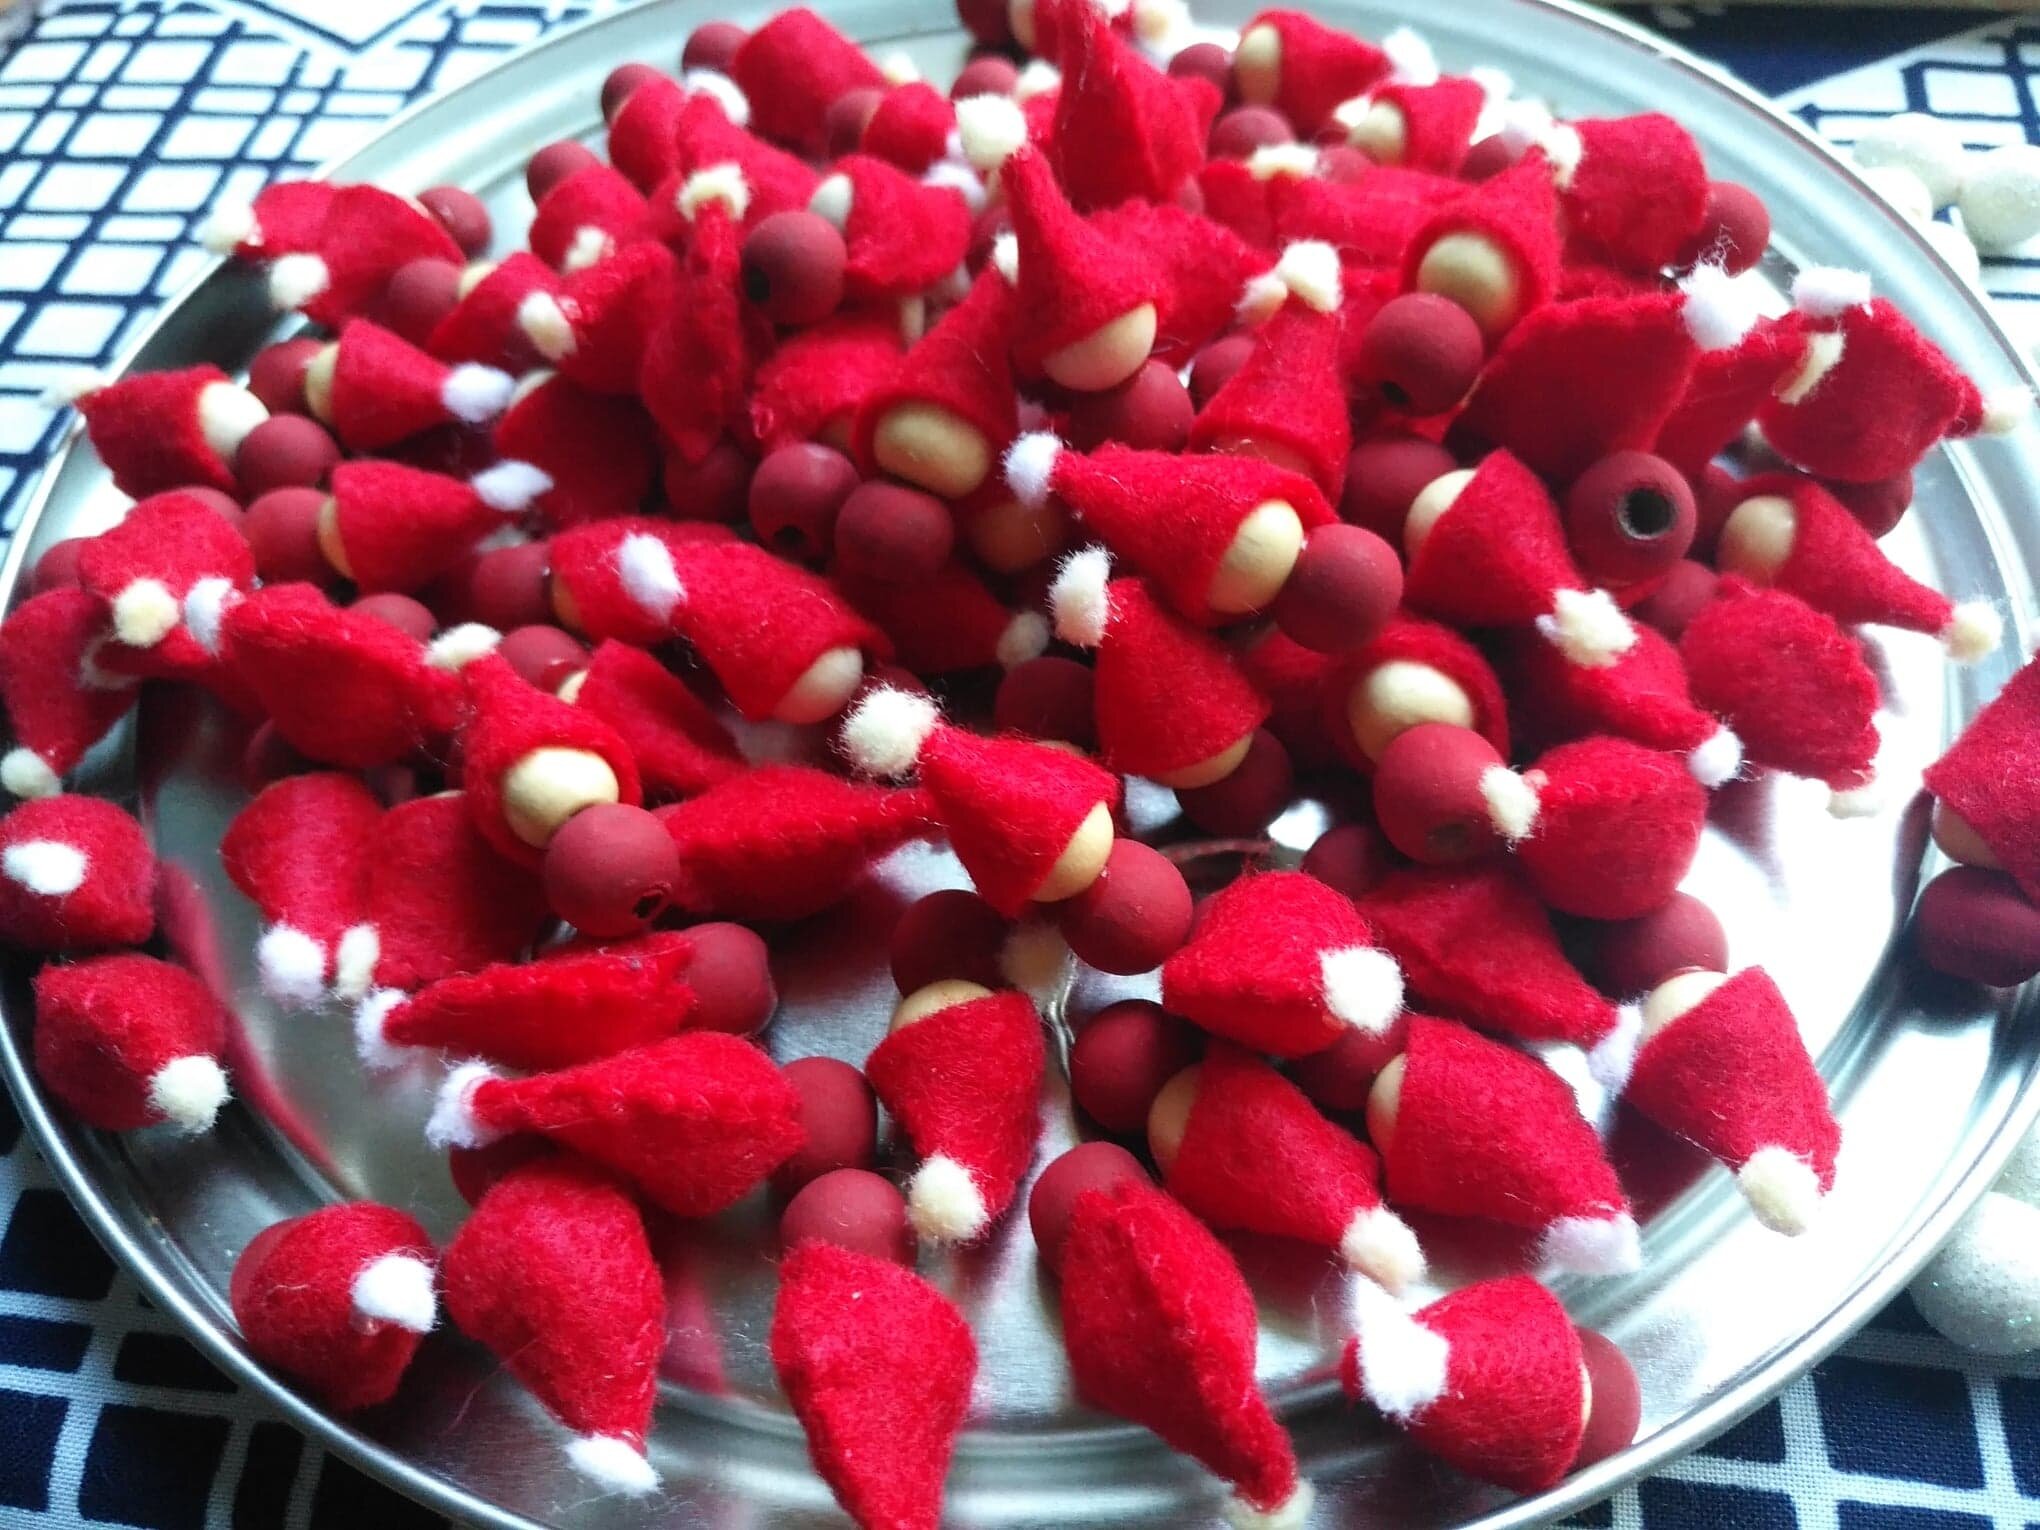
Here are other randomly collected images of this year’s project in different stages of preparation. Most everything was painstakingly hand-made, or put together by hand with deft use of glues, tweezers, etc.

Here are the finished products! Four different holiday motifs all in a nutshell! Hang one…or two…or three…or four on your tree!

They are available at the shop at 4.95 (+HST) each or buy them online! Hand-crafted in Nova Scotia, Canada.

Second Wave Safety Measures

Added on by the ikebana shop.

Updated Nov 28, 2020:

Customer limit inside the shop will be 3 persons maximum at any time. Thank you.


Updated Nov 24, 2020:
Customer limit inside the shop will be 5 persons maximum at any time. Thank you.


Although we are very fortunate to be in a “safe” province like Nova Scotia, we cannot relax our guard. As the weather cools, the number of COVID-19 cases are beginning to rise again. We need to remain vigilant!

Starting Nov 16th, 2020, we are limiting the number of customers inside the shop to a maximum of 6 persons. If you’ve been to our shop, you know that our space is small and it is a challenge to maintain social distancing at all times. The NS Public Health guidelines allow a maximum of 10 persons without social distancing but we decided to make stricter rules for the safety and comfort of everyone.

 
Gathering limit for businesses and organizations that can’t maintain a physical distance of 2 metres (6 feet) because their physical space is too small - 10 customers or clients maximum without social distancing (keep as much social distancing as possible)
— https://novascotia.ca/coronavirus/restrictions-and-guidance/#gatherings


So, if we are going to exceed the six-customer limit, we may ask you to wait outside for a while. There are Q spots on the sidewalk to guide you where to wait for your turn.

Please queue on the Q’s!

Everyone entering the shop is also requested to wear a face mask.

Thank you very much for your cooperation and understanding.

P.S. Online shopping and curbside/in-store pick-up are still on-going as well!

Tutorial: How To Make Our Face Masks

Added on by the ikebana shop.

Since completely stopping making face masks in the end of September, 2020, not a day has gone by without customers coming in still looking for them. We truly appreciate that they sought us out, most mentioning that our masks were “the best”. Thus, it made us all the more sad to disappoint as we had no more masks to offer. With life in our Atlantic bubble moving along, it just wasn’t possible to continue making them.

To those who are handy with the sewing machine and would like to make their own masks, here is a little tutorial to help you get started. We have replenished our Japanese fabric stocks and have a lot of fat quarters to offer. (What is a fat quarter?)

Special Limited Offer: When you purchase fat quarters at the shop, do let us know if you are planning to make masks out of them. For each purchase of our fat quarter fabric, we will throw in 1.5m length of the elastic cord for FREE. This offer is good while supply lasts.

Let’s get started!

This tutorial will help you make a double-layered, pleated face mask with approximate dimensions of 18cm x 9cm. The choice of fabric material is really up to you. We went through a lot of trial-and-error to choose what we thought was best. We used 100% cotton fabric on all our masks.

0. Materials

  • 2 pcs fabric cut 18cm x 19cm
    (One piece will be the front and the other will be the back. You can use the same pattern for front & back too. The masks will be reversible.)

  • 2 pcs fabric cut 12cm x 5cm
    (These will be your bias strips so we recommend the pattern to be the same as the front pattern of your mask)

  • 2 pcs elastic cord 28cm length

Fig 1 Mask materials

1. The Mask Body

  • Place the 2 big fabric pieces one on top of the other with the “front” of each fabric inside, i.e not showing. (Basically, this is the mask inside-out.)

  • Make sure they are aligned flush.

  • Stitch together along the top & bottom edges with a 0.5cm seam allowance.

Fig 2 Stitching the mask together.

2. Pleating

  • Turn the mask back to its normal position so that the seam allowances are now in the inside. (i.e. no longer inside-out)

  • Put marks on both side edges of the mask on the appropriate places as shown in Fig 3.

  • Fold the mask (both layers together) across on each of the marked points. Iron the creases to make them more prominent. (Fig 4)

  • Use sewing pins to keep the creases in place. (Fig 5)

  • Stitch across the creases at about 0.5cm from the mask edge on both sides. (Fig 6)

Fig 3 Marks for pleating

Fig 5 Sewing pins to keep creases in place

Fig 4 Make creases on the marks

Fig 6 Stitch the creases together

3. The Bias Strip

  • Take the smaller piece of fabric and put it under the mask. Make sure both are front facing. (Fig 7)

  • Align the smaller piece flush along the side edge of the mask. Place it centred vis-a-vis the top-bottom edges of the mask.

  • Fold both the protruding top & bottom excess fabric towards the mask and stitch them together all the way down. The stitching should be at about 0.5cm from the mask edge (more or less on the same line as the stitching for the pleats). (Fig 8a & 8b)

  • Pull out the bias piece as shown in Fig 8c.

  • Fold the bias piece two times as shown in Fig 9a & 9b.

  • Stitch the bias piece in place. Do the same for the other side. (Fig 10)

Fig 7 Placing the bias strip

Fig 8a Sewing on the bias piece

Fig 8b Bias piece is sewn on

Fig 8c Pull out the bias piece

Fig 9a Fold

Fig 9a Fold

Fig 9b Fold again

Fig 10 Stitch the bias strip

4. The Elastic Cord

  • Use a needle or bodkin to thread the elastic cord through the bias strip. (Fig 11)

  • Tie the cord together and hide the knot under the bias strip. Do it on the other side too!

Fig 11 Threading the elastic cord

And there you have it!

Fig 12 Face mask completed!

Extra notes:

  • For cotton face masks, we recommend washing in cold water and hanging to dry. Putting it in the dryer may cause shrinking.

  • The recommended length of 28cm for the elastic cord should be more than enough. You can always shorten it if it’s too loose. It’s harder to loosen it up if it is too tight!

We hope this helps. Stay safe!

My Ikebana: Autumn In A Bamboo Vase

Added on by the ikebana shop.

Autumn is probably the most breath-taking time in Canada. The maple leaves turn into a wonderful spectrum from bright red to bright yellow…and everything else in between! When you have seen this, you will understand why the Canadian flag has a red maple leaf!

This was taken just down the street from where we live in Halifax, NS.

This arrangement uses autumn leaves.

In a bamboo vase.

Here is the whole arrangement.

I hope you like it. —Miyako

My Ikebana: Hanging Burlap

Added on by the ikebana shop.

Burlap fabric is usually used to make sacks to pack bulk dry foods like grains and beans. For this arrangement, a “vase” was fashioned out of burlap fabric!

This type of arrangement is called tsuri-bana (吊り花) or “hanging arrangement”.

I hope you like it. —Miyako

My Ikebana: From A Small Vase

Added on by the ikebana shop.

The objective of this arrangement was to show unbalance: a small vase versus a large arrangement of materials.

What do you think? Was it successful? ☺ Here is the whole arrangement.

I hope you like it. —Miyako

Zoom Demo At SMU

Added on by the ikebana shop.

Every year, we are honoured to be invited to present ikebana to the Japanese Culture course offered at St. Mary’s University.

Normally, the demonstration would have been live in the classroom. Afterwards, the students would have been able to see the ikebana arrangements up close and enjoy the subtle details.

But of course, this year is different. University lectures are being conducted online and so must our demonstration! We are posting the demo arrangements below so that the students may have a second look at them.

We’d like to thank Dr. Alexandre Avdulov of the Department of Modern Languages and Classics and all the students in the Japanese Culture course for your warm welcome and keen interest!

Believe it or not, this was our first “Zoom event” ever.

Believe it or not, this was our first “Zoom event” ever.

Arrangement No. 1 - Basic Upright Moribana

Arrangement No. 2 - Drawing Attention to the Container

Arrangement No. 3 - Seasonal Arrangement: Autumn

We hope you enjoyed the demonstration!

Transitioning To Paper Bags

Added on by the ikebana shop.

From Sept 1st, 2020, the shop is officially using paper bags for your small (as in “not bulky”) purchases.

No Extra Charge For A Paper Bag
Reality is that paper bags are significantly more expensive than plastic bags. But we’ll provide paper bags, if necessary, at no charge…for now. We will see how this goes. If less people ask for bags, then we will still be able to provide the paper bags for free for those moments when you do need one.

Let’s Reduce!
We ask our customers to bring their own reusable bags whenever possible. We will not offer to bag your purchases unless you specifically ask us for a bag.

What About Bulky Purchases?
No worries. We will still have large plastic bags for items that will not fit in regular reusable bags. Yes, we know we have big plushies in the shop!

Thank you very much for your understanding and cooperation.

Details of the Plastic Bags Reduction Act here.